Table of contents
1.Screen Description
2.Create "LogBook"
3.Edit "LogBook"
4.Create "DiveLine"
5.Output "LogBook" and "DiveLine"
6.Settings
7.Backup/Restore
8.Storing pictures
9.Other Apps
10.Inquiry
1.Screen Description
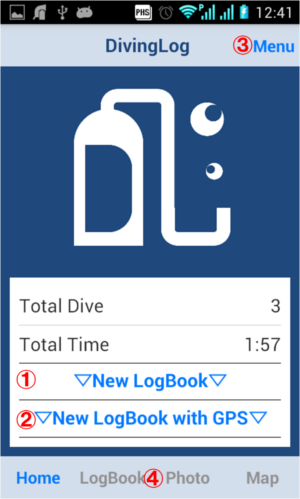
Home Screen
In Home Screen, you can create LogBook, and you can show home menu.
-
"New LogBook" Button
You can create New LogBook with this button.
-
"New LogBook with GPS" Button
You can create New LogBook with your current location information with this button.
-
"Menu Button"
You can show following contents with this button.
-
Tab Button
You can switch Home Screen, LogBook List Screen, Photo Album Screen, Map Screen with these buttons.
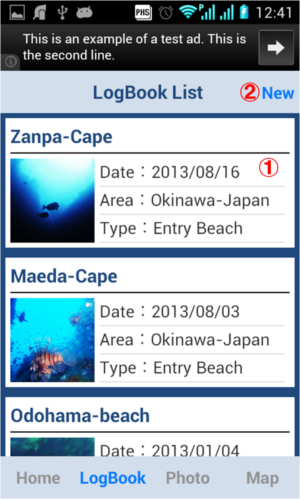
LogBook List Screen
List of your LogBooks.
-
LogBook
If you touch the LogBook, details of the LogBook will be displayed.
-
New Button
You can create New LogBook with this button.
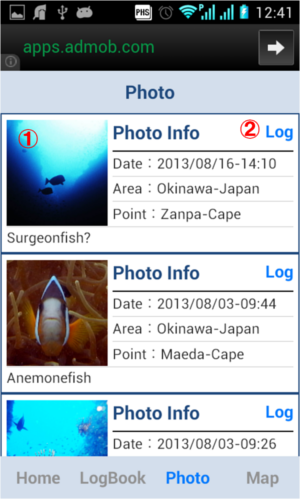
Photo Album Screen
List of your photos. If you add photo to "DiveLine" in the LogBook, list of pictures will be displayed in this screen.
-
Photo
If you touch the Photo, Larger image will be displayed.
-
Log Button
If you touch this button, LogBook associated with the photo will be displayed.
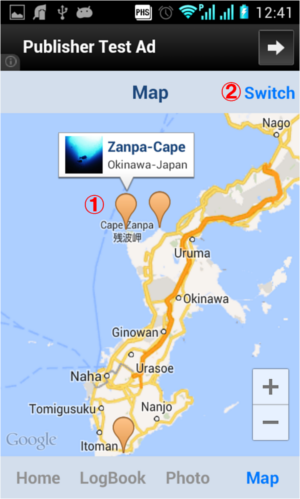
Map Screen
List of your diving points. If you set the location information to your LogBook, list of diving point will be displayed in this map.
-
Pin
If you touch this pin、The balloon of LogBook will be displayed.
If you touch the button in the balloon, details of the LogBook will be displayed.
-
Switch Button
You can switch the map and the satellite photos with this button.
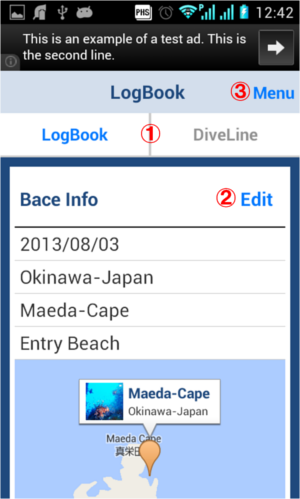
LogBook Screen
Details of the LogBook
-
Tab Buttons
You can switch the LogBook Screen and the DiveLine Screen with these buttons.
-
Edit Button
If you touch these buttons, Edit screen of each items will be displayed.
-
Menu Button
You can show following contents with this button.
- Delete this LogBook
- CSVfile output(LogBook)
- CSVfile output(DiveLine)
- Image output(LogBook)
- Image output(DiveLine)
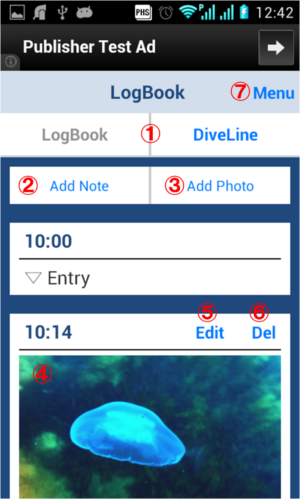
DiveLine Screen
Activity of your diving.
-
Tab Buttons
You can switch the LogBook Screen and the DiveLine Screen with these buttons.
-
Add Note Button
You can add the Note with this button.
-
Add Photo Button
You can add the Photo with this button.
-
Photo
If you touch the Photo, Larger image will be displayed.
-
Edit Button
If you touch these buttons, Edit Screen of each Notes and Photos will be displayed.
-
Del Button
You can delete Notes and Photos with this button.
-
Menu Button
You can show following contents with this button.
- Delete this LogBook
- CSVfile output(LogBook)
- CSVfile output(DiveLine)
- Image output(LogBook)
- Image output(DiveLine)
Back to the Table of contents
2.Create "LogBook"
How to create LogBook
If you want to create a new LogBook, please press the "New LogBook" button in Home Screen.
How to create LogBook with location information.
If you want to create a new LogBook with location information, please press the "New LogBook with GPS" button in Home Screen.
if you create a new LogBook in this way in the beach or on the boat before entry, it saves you from having to manually set the location information at a later time.
Back to the Table of contents
3.Edit "LogBook"
How to edit LogBook
if you want to edit the LogBook, please press "Edit" button displayed on the right side of each items in LogBook Screen.
LogBook Edit Screen

-
Item edit button
if you want to edit items, please touch the right side area of each item names. if you touch these, Input tool corresponding to each items will be displayed.
※If there is "OK" button in the tool that appears, Please press the "OK" button in order to reflect the edits.
-
Save Button
Save the contents of the edit.
※if you finished editing without pressing the "Save Button", edits will not be saved.
Back to the Table of contents
4.Create "DiveLine"
If you want to see DiveLine Screen, please press "DiveLine" button in LogBook Screen.
Add Entry/Exit time
If you want to add the Entry/Exit Time to the DiveLine, Please set the Entry/Exit Time in the LogBook.
Add Note
If you want to add a note to the DiveLine, please press "Add Note" button.
Add Photo
If you want to add a Photo to the DiveLine, please press "Add Photo" button.
Edit Item
if you want to edit items, please touch "Edit" button of each items.
Delete Item
if you want to delete items, please touch "Del" button of each items.
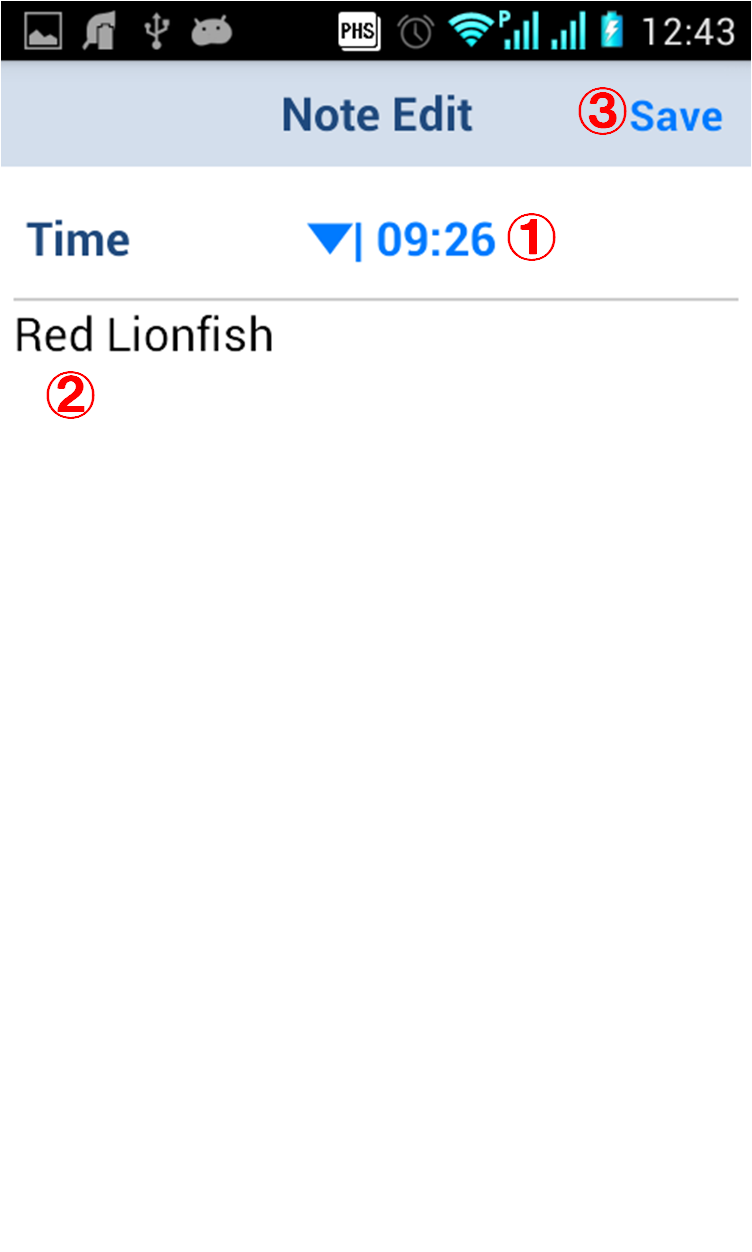
Note Edit Screen
-
Time Button
Set the time of item.
-
Note
Edit Note.
-
Save Button
Save the contents of the edit.
※if you finished editing without pressing the "Save Button", edits will not be saved.
Back to the Table of contents
5.Output "LogBook" and "DiveLine"
You can create an image file of the "LogBook" and image file of "DiveLine"
CSVfile output(LogBook)
If you want to output the CSV file(LogBook), Please select "CSVfile output(LogBook)" from Home Screen Menu Button.
The file will be stored to "t.hirata.divinglog" folder that is in "SD card or Device".
CSVfile output(DiveLine)
If you want to output the CSV file(DiveLine), Please select "CSVfile output(DiveLine)" from Home Screen Menu Button.
The file will be stored to "t.hirata.divinglog" folder that is in "SD card or Device".
Image output(LogBook)
If you want to output the Image file(LogBook), Please select "Image output(LogBook)" from Home Screen Menu Button.
The file will be stored to "t.hirata.divinglog" folder that is in "SD card or Device".
Image output(DiveLine)
If you want to output the Image file(DiveLine), Please select "Image output(DiveLine)" from Home Screen Menu Button.
The file will be stored to "t.hirata.divinglog" folder that is in "SD card or Device".
Back to the Table of contents
6.Settings
In Setting Screen, you can edit total dive initial value, total time initial value, unit of depth, unit of weight and unit of temperature.
If you want to see Setting Screen, Please select "Setting" from Home Screen Menu Button.
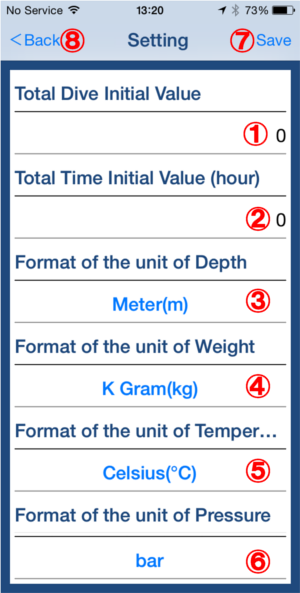
Setting Screen
-
Total Dive Initial value
Input total dive initial value. *default value is 0.
-
Total Time Initial Value
Input total time initial value.(hour) *default value is 0.
-
Format of the unit of Depth
Select format of the unit of Depth. *default unit is "Meter(m)"
-
Format of the unit of Weight
Select format of the unit of Weight. *default unit is "K Gram(kg)"
-
Format of the unit of Temperature
Select format of the unit of temperature. *default unit is "Celsius(℃)"
-
Format of the unit of Pressure
Select format of the unit of pressure. *default unit is "bar"
-
Save Button
Save the contents of the edit.
※if you finished editing without pressing the "Save Button", edits will not be saved.
Back to the Table of contents
7.Backup/Restore
You can create the backup file from your LogBooks, and you can restore your LogBooks from the backup file.
Please use it when you want to move your LogBooks to another Device.
How to create Backup file
- If you want to create backup file from your current LogBooks, Please select "Backup/Restore" from Home Screen Menu Button.
- When you press "Create Backup File" button, the backup file creation will be started.
*The backup file will be stored to "t.hirata.divinglog" folder that is in "SD card or Device"
How to Restore
1. In case Android 4.4 or later + SD card
- Install "DivingLog" to your new device.
- Please make "SD card/Android/data/t.hirata.divinglog/files/Download/t.hirata.divinglog" folder, by launching "DivingLog".
- Please overwrite the "t.hirata.divinglog" folder by "t.hirata.divinglog" folder that contains backup file and photos.
- Launch "DivingLog" and select "Backup/Restore" from Top Screen "Manual/Menu" button.
- When you press "Restore LogBooks" button, your LogBooks will be restored in your new device from backup file.
2. Others
- if your new device has SD card, please move "t.hirata.divinglog" folder that contains backup file and photos to its SD card. *If you will use same SD card that have been used in the your old device to your new device, please insert the SD card to your new device.
if your new device does not have SD card, please move "t.hirata.divinglog" folder that contains backup file and photos to the device.
- Please install "DivingLog" to your new device.
- Please select "Backup/Restore" from Home Screen Menu Button.
- When you press "Restore LogBooks" button, your LogBooks will be restored in your new device from backup file.
*if "Backup file is not found" message was shown in case you moved "t.hirata.divinglog" folder to SD card, please try again after moving the folder to device.
Backup/Restore Screen
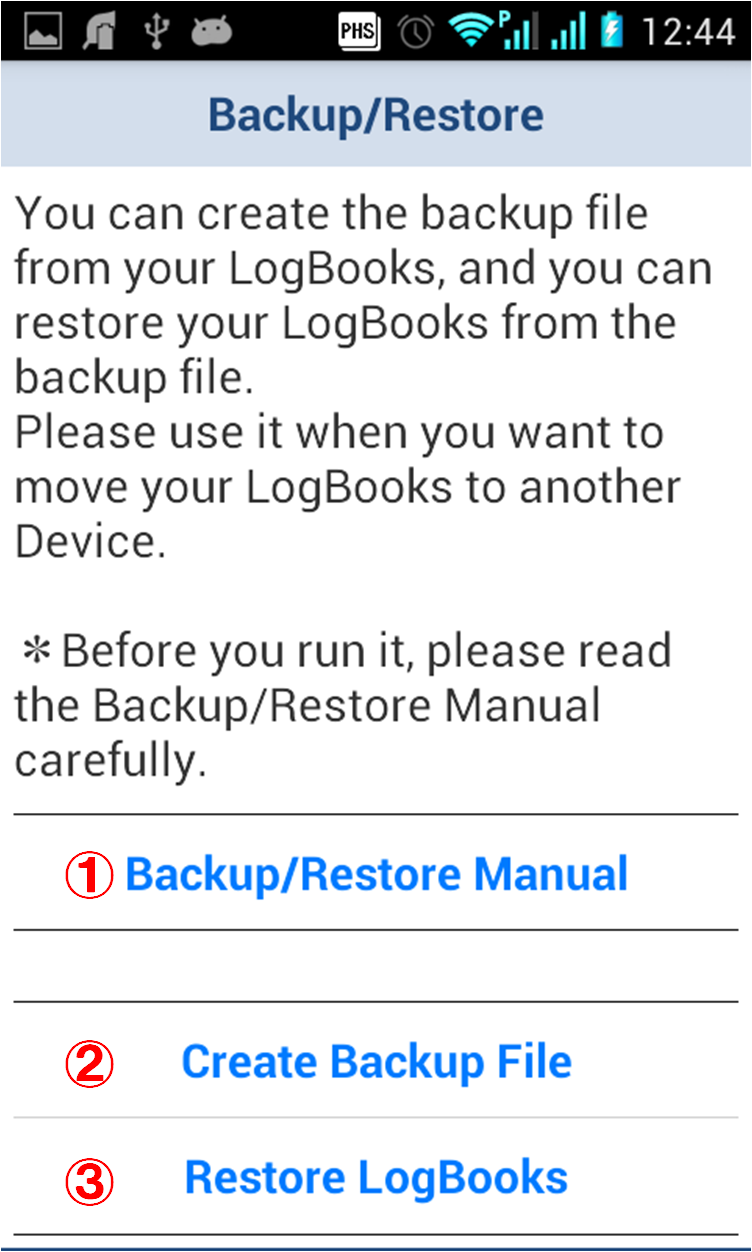
-
Backup/Restore Manual Button
Manual is shown.
-
Create Backup File
If you touch this button, Backup file will be created from current LogBooks.
-
Restore LogBooks
If you touch this button, LogBooks will be restored from the backup file.
Back to the Table of contents
8.Storing pictures
If your device has SD card slot, photos taken or added by "DivingLog" is saved in SDcard. If your device does not has SD card slot, photos taken or added by "DivingLog" is saved in Device.
Folder Name
"SD card or Device "t.hirata.divinglog" folder
In case Android 4.4 or later + SD card
SD card/Android/data/t.hirata.divinglog/files/Download/t.hirata.divinglog"
Back to the Table of contents
9.Other Apps
Art Serigraphy - Contemporary / Modern Art Style Filter App -
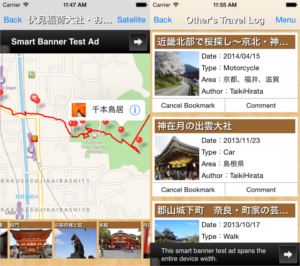
PockeTraveL -Photo And Route Travel Log App-

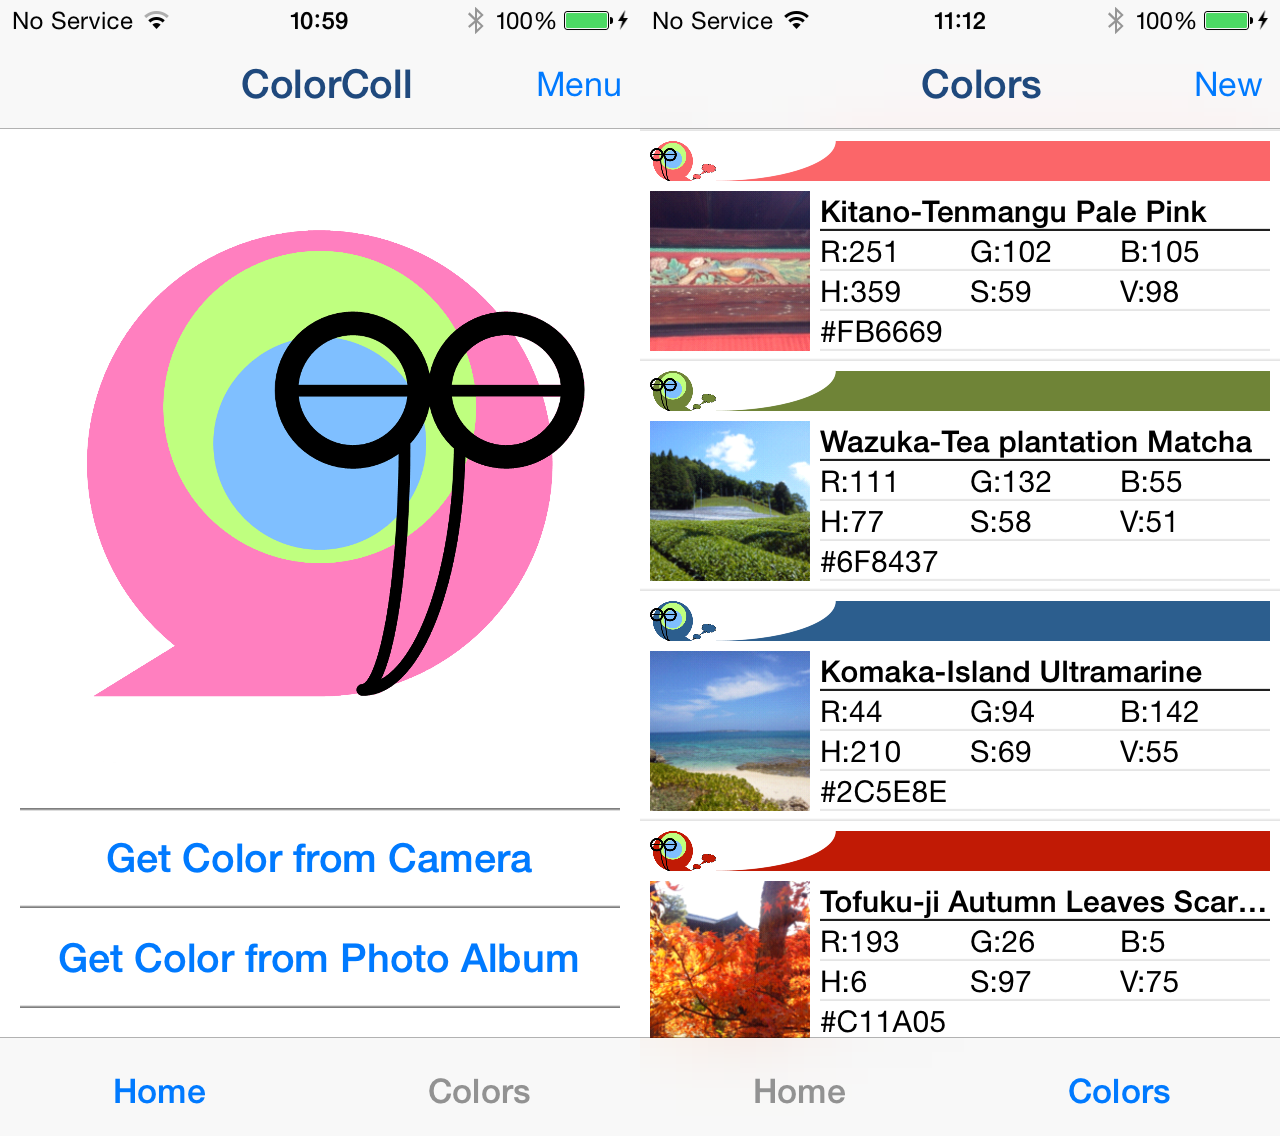
ColorColl - Color Picker/Capture App for Collect World Color -

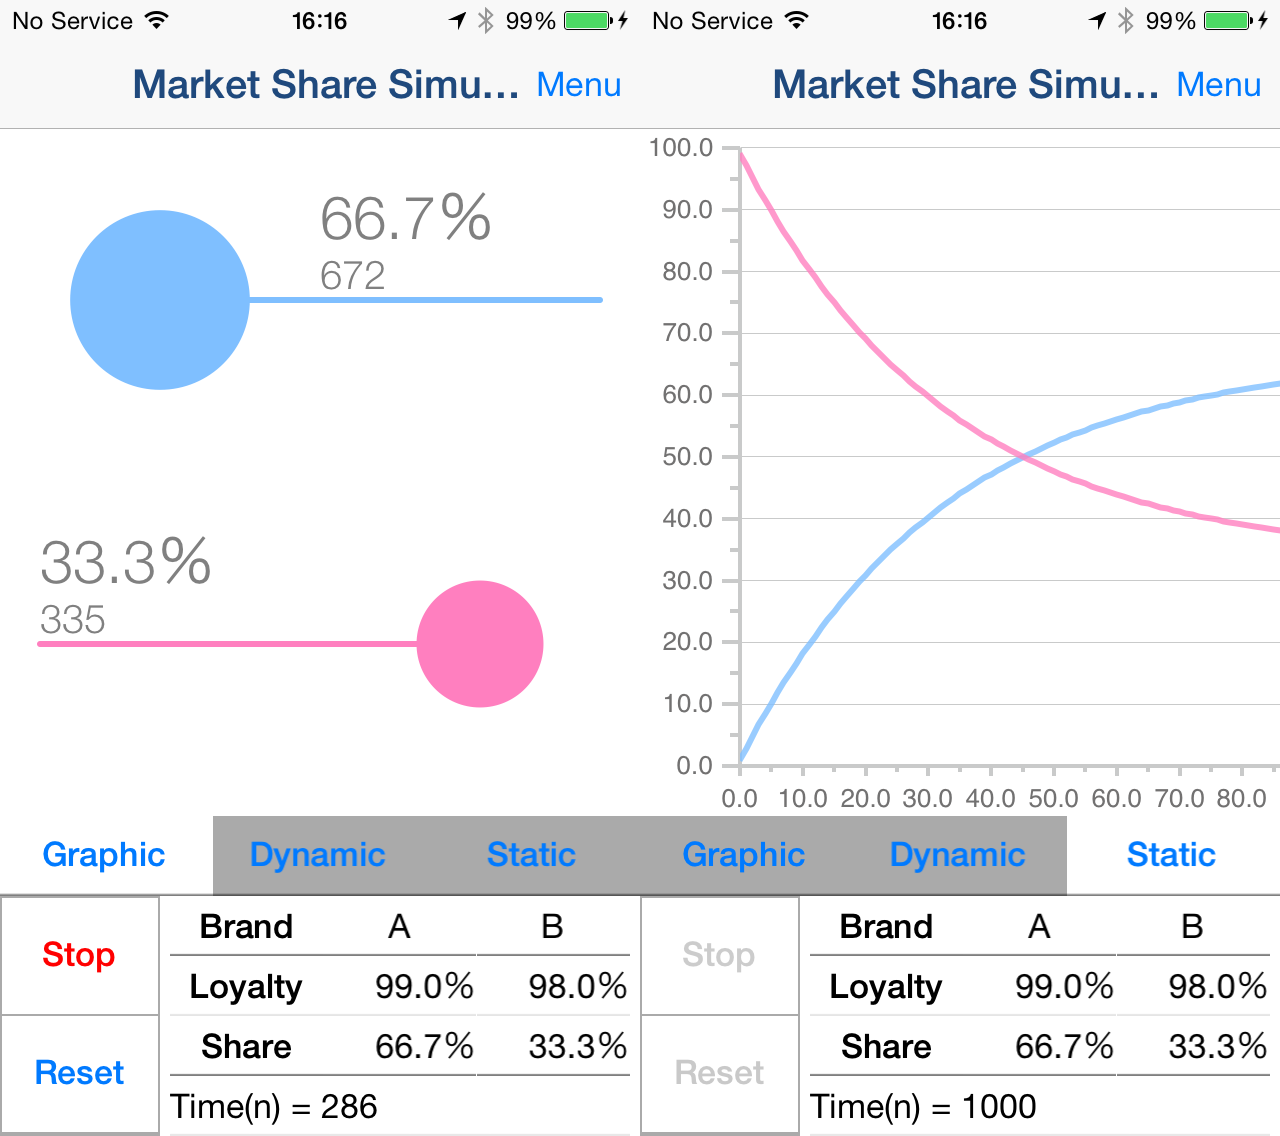
Market Share Simulator -Simulation of Market Share by Brand Loyalty-
Population Simulator - The Population Model with Logistic Map -


10.Inquiry
Inquiry
App Page
DivingLog App Page